Tuesday, 29 April 2014

Final Major Project - Design - Stand Work

Stand Work:

After weeks of research and development working only on paper I started my design process by experimenting on the stand, thinking of possible shapes and structures that could translate the ideas and themes of optical toys and movement into a garment. As a group we were set a workshop to select one shape out of all our research and project so far and cut it out multiple times in varying sizes. These we then linked all together and arranged on the stand. I chose the shape of a phenakistoscope due to its lack of resemblance to any conventional garment. I then worked on the stand, mainly creating structures that worked away from the body:


Working this way was difficult at times because of the scale of what I was working with; however, I am grateful to be working out of my sketchbook and doing something practical. Once I had finished working on the stand I used what I had created as a basis to start design work in my sketchbook:


I liked the fact that none of the creations really resemble typical garments as it gives me more freedom in my design process. For the next step I set myself my own task working on the stands. Using only outlines of the shapes of various optical toys I created pieces on the stand to use as a starting point for designs. Outlines used include a zoetrope stand, a thaumatrope, a phenakistoscope, the handle of a stereoscope, the outline of stereocards and layers like a flip book:


As with the first task I then used this stand work to start designs:


I am pleased with this work as throughout the project I have found it difficult to visualise and communicate to others how exactly pre-cinema animation devices can be turned into a fashion project. Now, with the start of my design process, I can really see it all coming together. It was also enjoyable to add a new method of working  to diversify my project. The stand outlines effectively show the interesting shapes and structures of pre-cinematic devices. Furthermore, I feel several of these designs are strong and by combining them with the themes I have picked out, perhaps by adding surface designs, I can now develop them into a final idea. I have been focusing on dress design so far, mainly as the shapes I am working with lend themselves to this most easily, but also because it is the garment that enables freest movement, and as I am still thinking about including themes of movement in my project it was something to consider.

Friday, 25 April 2014

Movement Studies

Now that I have finished with the research section of my project I am moving into the development of a theme and focused idea. As I had quite a lot of research and themes going on I decided to trim them down and focus on the ideas of movement, and how this can communicate a narrative in itself. I've done some development of my own motion studies and will focus on this before linking back to my starting point and the idea of movement within animation devices. With these movement studies I feel I have improved my technical drawing as well as my observational skills, all of which come in handy not just when trying to produce a high quality project but also in life.

I started my development simply, just using an artists mannequin and moving it around to study its movements and I have also decided to begin attending life drawing classes to help me explore the ideas of human movement. They are now every Thursday after college in a studio round the corner from me. Varying models every week there will be a mix of clothed and life modelling. I will update this post with additions from my classes as the weeks go on:

Pencil Drawings

Ink and Pencil Drawings- 2 mins

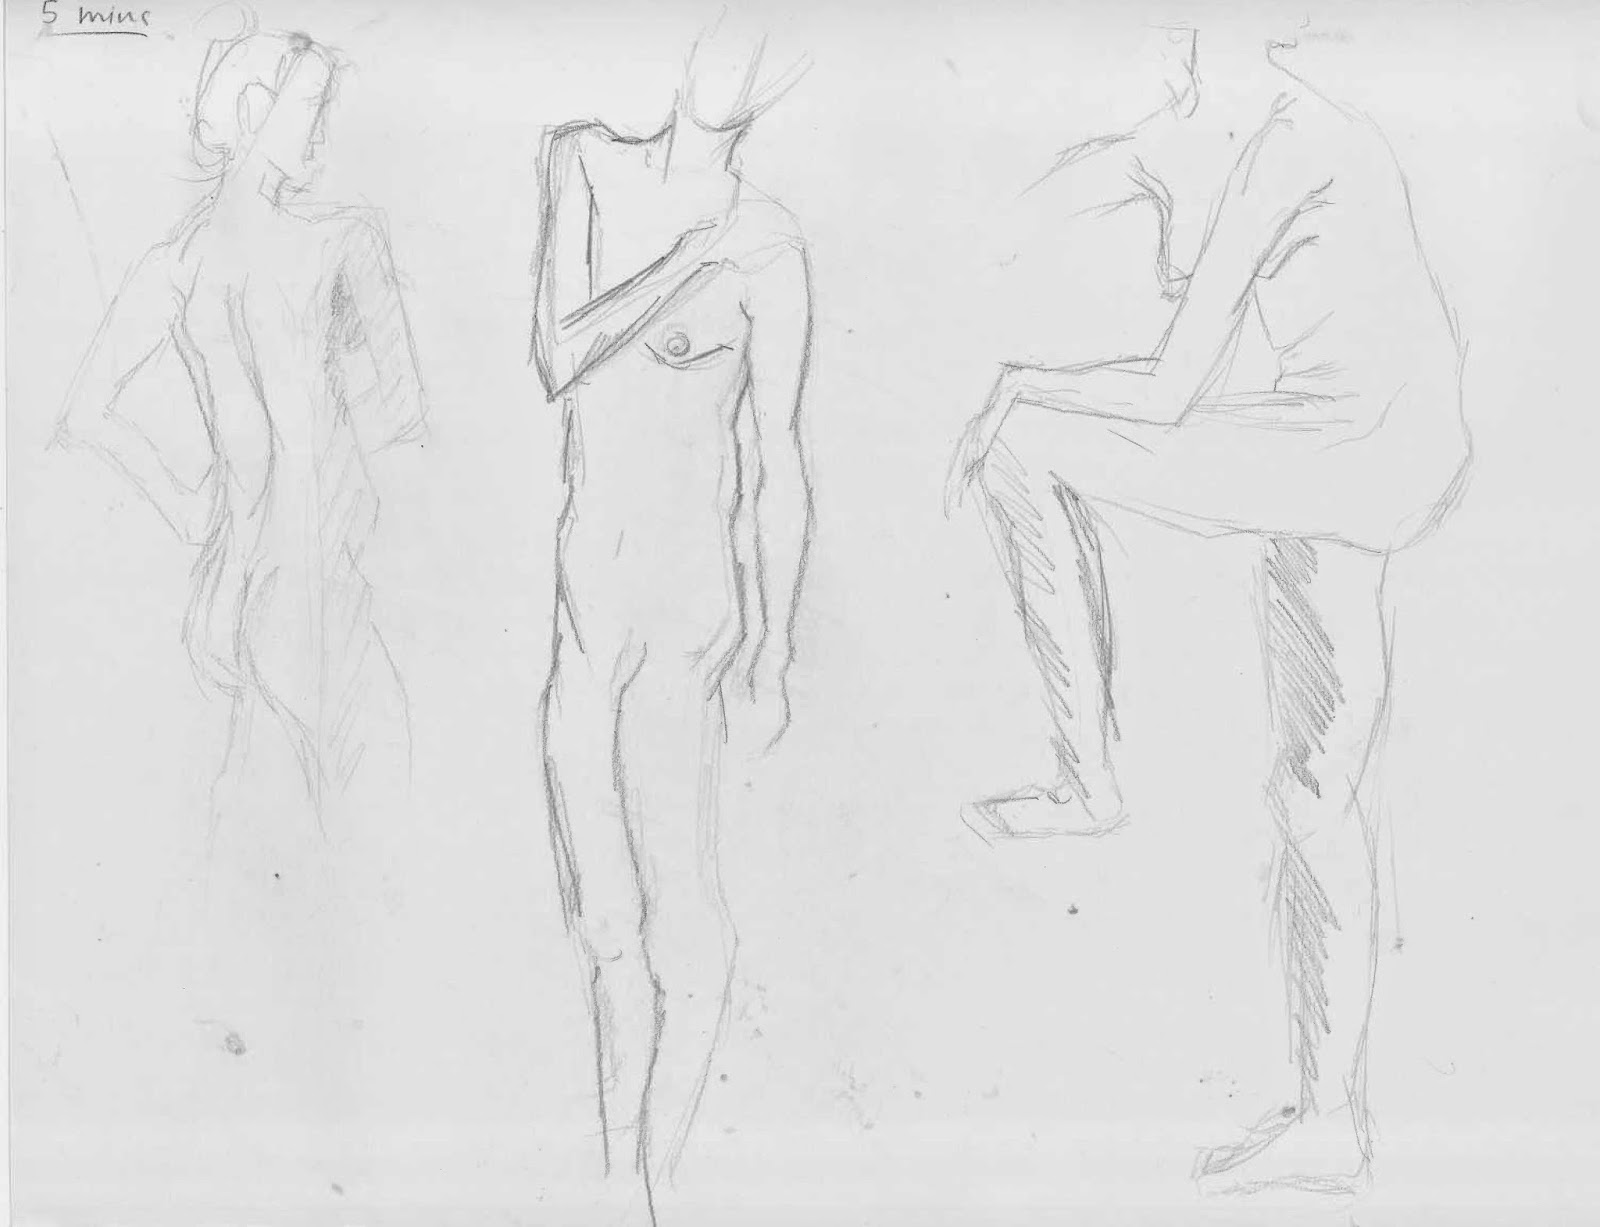
Pencil Drawings - 5 mins

Pencil Drawings- 5 mins 

Oil Pastel - 10 mins

Charcoal- 15 mins
Charcoal - 15mins

Pencil - 15 mins
Pencil - 40 min
Pencil - 15 mins

Pencil - 15 mins

Charcoal - 15 mins
Pencil - 20 mins

Ink and Pencil - 2 mins per pose
 I really enjoy life drawing and feel the work I have done in classes so far is very useful. Whether we are drawing several poses quickly next to each other to get a sense of movement, or stationary poses, it is helpful in learning about the human body and how we interact with it and our surroundings.

With these new skills and understanding I am now thinking about methods of representing movement in a single image, and so have experimented with layering drawings:

Pencil

Pen- Blinking eye

Pen - Dancer
I am pleased with my work so far, though now need to link it back to my original ideas and start to think more about the final product and fashion influences. I also think it would be helpful to start working more outside of my sketchbook. I could start experimenting with stand work in order to break up my research and development work with something a bit different. Now that another week has gone I feel a bit more on track with my project. Also, now that we are three weeks in, I feel as though my project is gaining momentum  as I have been able to immerse myself further into the idea.

Also as part of my motion studies I experimented with some photography, trying to capture a waving hand. I liked the idea of focusing more specifically on one part of the body in order to have more detail to the study. Also, by adding photography to my research and not just working from drawings and am meeting the criteria I set myself at the beginning of the year. Subject of the photographs is Nicolette Jones (i.e. my Mum):

Waving Hand Study - Author's Own
I feel that although my work is still lacking in work that can be seen to link easily into a fashion garment, I am pleased with this area of my research and development as it picks out a key theme from my original premise. It has also widened the range of media that I work with, using several skills and has given me a lot of raw material and themes to further explore. 

Tuesday, 22 April 2014

Themes Research and Inspiration

The Boring Figure - Source
Phantasmagrams by Pentagram
 Illusions:

One theme that I have picked up on while researching pre-cinematic animation devices is that of illusion. The phi phenomenon and depth perception are both things that the brain can be tricked into, which is essentially how all these devices work, by manipulating these senses. Edwin Boring, an experimental psychologist, tested this with his 'Boring Figure' (right). A very famous optical illusion in which either an old woman of young woman can be seen, it illustrates the idea of 'perceptual ambiguity' that the brain can misinterpret how it registers a static image.


Op art:

I did a little research on various artists that use the ideas of optical illusion in their work, obviously immediately turning to the Op Art movement and the work of Bridget Riley. Op art works are abstract, with many of the better known pieces made in black and white. When the viewer looks at them, the impression is given of movement, hidden images, flashing and vibration, patterns, or alternatively, of swelling or warping. Because of the similar manipulation of the static image and other themes that link in well with my project I think I may use some element of optical illusion in my final piece:


As I need more fashion influences in my work I looked into how optical illusions have been used in fashion, and was reminded of Chrisopher Kane's Spring/Summer 2014 collection. He incorporates the ideas of warped perception through bold prints in his work and it is an influence I may use in the future development of my project.


Another important theme want to look into is that of the study of movement. By very definition of being 'animation devices' the inventions I have looked at so far all depict and study forms of movement. This is something I am excited about researching further, focusing my work specifically on human movement, probably through life drawing classes and other methods. It is a fascinating concept and one I hope to convey in my final piece.


Eadweard Muybridge:

An English photographer (1830-1904) important for his pioneering work in photographic studies of motion, and early work in motion-picture projection.

 Today, Muybridge is known for his pioneering work on movement studies, particularly that of animals. He used multiple cameras to capture stop-motion photographs. His work is behind the design of the flipbooks I used in earlier research.

I love Muybridge's work and studies into movement. He manages to diversify his work and always keep it interesting by combining studies of everyday activities, athletes, dancers and animals:

My sketchbook research into Muybridge. All images sourced from 'Eadweard Muybridge' a book issued by the Tate:

Sketchbook research into Muybridge and Motion Studies. Images sourced from 'Eaddweard Muybrdge' by the Tate and 'Dates and Sources' by Franz Paul Liesegang


While looking into movement studies I found another Photographer whose work admire. Anton Giulio Bragaglia (11 February 1890 – 15 July 1960) was a pioneer in Italian Futurist photography and Futurist cinema. Probably influenced by Muybridge's work, his photograph's are also intriguing studies of movement, a lot with layering and blurring of pictures. Another method he used which I like is that of tracking lines of movement to show patterns and order in it (see below). 

Howard Schatz (born 1940) is an American ophthalmologist and photographer. A modern influence that inspires me. His use of layering and brightened colours really accent the fluidity of the movements he studies and his work will help me as I now come to the end of my research and focus on developing my idea. The photographs of Howard Schatz are exhibited in museums and photography galleries internationally and are included in innumerable private collections. He has received international acclaim for his work.

Although I am still a little behind on my schedule, I now feel more confident going forward with my project as I have a wider range and variety of research. This has helped me to discover several interesting themes to bring in to my idea which will help create a diverse well rounded final outcome. 

Friday, 18 April 2014

Devices Research

The next devices I've chosen to research have a different focus from the previous four. I've had to narrow down my research quite a bit as there are dozens of inventions that all work on the same principle. Therefore I have only picked out eight overall to focus on: Camera Obscura, Magic Lantern, Thaumatrope, Zoetrope, Phenakistoscope, Flip Book, Stereoscope and Anaglyphs. 
The three in this list that I have not already researched in depth, Stereoscope, Anaglyph and Magic Lanterns do not create moving images, but rather 'animate' a static image in a different way. Depth Perception is the key principle here. Depth perception is the ability to perceive the world in three dimensions (3D). It is because of this perception that humans possess that we can judge distances, and from a technological point of view, now have 3D films. 

Stereoscope 
A stereoscope is a device which can make images appear three dimensional. It consists of a card holder with attached lenses and a stereocard or stereograph which consists of two images of the same scene shot slightly apart. The lenses have the effect of merging the two images onto one another, and consequentially adding a dimension to the 2D image. The earliest type of stereoscope was invented by Charles Wheatstone in 1838.

Stereocards from my collection
With my research into stereoscopes I started thinking again about how these devices could be used as inspiration for a textile outcome. I had the idea that the designs of the devices could lend themselves to interesting print designs. I tried this out with a stereoscope image and adding layers and colour to it on Photoshop to create a print. I then imposed the print onto a garment. I am pleased with my final result and am looking forward to expanding my research and development processes with the other devices to include print design. However, as costume is my main area of interest I would like a final piece that goes beyond textile surface design to incorporate construction techniques as well. 
Stereoscope Print Design
Stereoscope Print Garment
Author's Own Anaglyph
Anaglyph 3D is the name given to the stereoscopic 3D effect achieved by means of encoding each eye's image using filters of different (usually chromatically opposite) colours, typically red and cyan (in other words achieved by wearing 3D glasses). Anaglyph 3D images contain two differently filtered coloured images, one for each eye. Therefore, when viewed through the "colour-coded" "anaglyph glasses", each of the two images reaches the eye it's intended for and the visual cortex of the brain fuses the two images into perception of a three-dimensional picture. The first method to produce anaglyph images was developed in 1852 by Wilhelm Rollmann in Leipzig, Germany, using filtered cameras. These days the same method is used with computers to make our 3D films, video games etc. Essentially the same effect as the stereoscope is achieved, however instead of two images side by side, the two are layered. In my research I found a website which instructs on how to create your own anaglyph images:

http://stereo.gsfc.nasa.gov/classroom/3d.shtml
With this I started to experiment with making my own, again thinking that they would make interesting prints. Having not picked out a theme to follow within my chosen project I used the work of a photographer I greatly admire, Robert Doisneau, just for experiment's sake. If you have 3D glasses please use them to look at the following images and I hope they'll work. 


Generic Image from Google for experimenting with.
The difficulty I encountered with this was getting the distances with which to set apart the contrasting coloured images - I had to guess. Therefore the effectiveness of the 3D effect is not always great. The necessity for 3D glasses also makes the effects hard to show to others. To test if anaglyphs would work as print I used the transfer printers at college to test them on fabric. I am reasonably pleased with the result, however it is not overly effective so the result is more for the principle of using the device than its viability as a 3D Image.
Anaglyph on Polyester Fabric
Anaglyph on Polyester Fabric. 
I also experimented with using the third dimension in my work through drawings. While at the science museum I found in their gift shop a kind of paper that claimed that when drawn on with black pen and with the use of 3D glasses, it would produce drawings that appeared 3D. It works because of the layers of red and green circles as the background and so when wearing the specially supplied red and green 3D glasses that came with the paper the eyes separate out  the layers as different distances. All in all, experimenting with three dimensional drawing was really fun, and I hope to bring some element of this through into my final piece.  

My '3D' Drawings

Cinderella running from the Ball - From my Collection
The final device I researched is the Magic Lantern. It is an early type of image projector developed in the 17th century. After looking through my grandfather's collection, what interested me most about the magic lantern was the frequency with which it was used to entertain the masses and tell stories. Magic lantern slides where often a sequence of illustrations from popular stories, such as Cinderella, and they came with explanatory text. Audiences would sit and watch the slides together. This theme of storytelling was something I already wanted to bring into my project due to my interest in costume design and something I have picked up on with all the devices is that they each tell their own stories. The point of them all being 'pre-cinema devices' is that they are essentially the closest thing to films of their day. In a precursor to our modern films they have their own narratives and in their own way tell their stories. This is a theme that I definitely want to pick up on as I now go into the theme and idea development stage of my project.

Alice in Wonderland Slides - From My Collection
As I am  now at the end of week two of my project, I had a progress review at college. The feedback I received was generally positive. However, my peers and tutor agreed that they find it hard to see how my ideas can develop into a final outcome. They also said that, although they like the fact that my idea is different, I now need more fashion and artist references in order to meet the FMP Criteria. I also checked my work against my action plan and found that I am about a week behind as I still feel I have more research to do, when really I should be past that and solely focused on developing my final design for the next three weeks. However I have met my aims set for the end of the fist two weeks of my project, with the exception of the third one and his is only because I have changed my original idea:

1. Go to the BFI, the Science Museum, The Photographer gallery etc. Sort through my Grandfather’s collections and create films/photographs of research found.
2. Research methods and origins of pre-cinema imagery and how they translated into modern techniques using library, internet and museum research as well as books such as : ‘The Wonders Of the Stereoscope’ by John Jones
3. Sort through gathered research and translate and experiment with initial findings in my sketchbook. Research and storyboard short story initially.n order to simplify the project I have not started out with a final outcome in mind and will see what themes and ideas my work produces. Instead of forcing too many ideas together I am only thinking about pre-cinema devices and not storyboards so I can be more free and fluid in my work.

Altogether this feedback was very useful I will have to ensure I manage my time more effectively and diversify my research in the coming week.